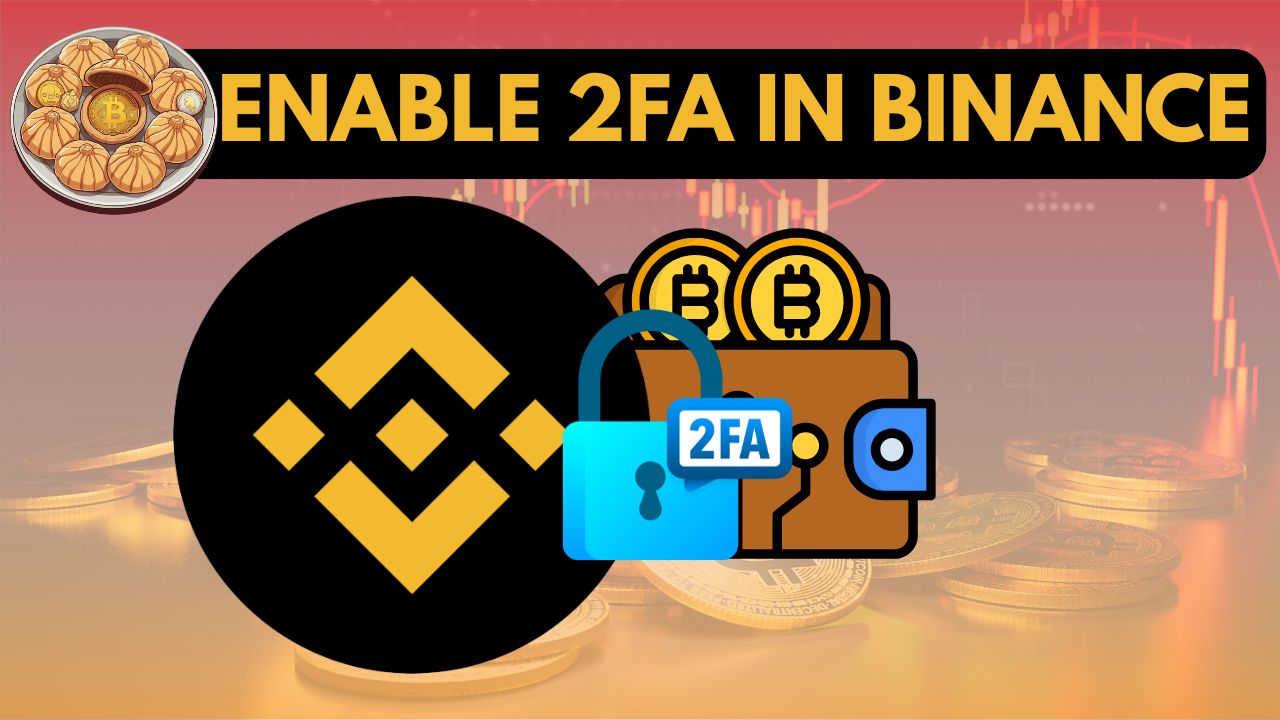
Securing your Binance account is the most important step after creating it — and in 2026, Two-Factor Authentication (2FA) has become a requirement for safe crypto usage.
Whether you use Binance for airdrops, wallet transfers, mining payouts, or simply storing your crypto, enabling 2FA protects your account from unauthorized access.
In this guide, I will show you exactly how to activate 2FA, which method is safest, and common mistakes beginners face (including my own past mistake that almost cost me my account).
What Is 2FA and Why You MUST Enable It in 2026?
2FA adds an extra security layer to your login process.
Even if someone steals your password, they cannot access your account without your second verification.
Binance supports three main types of 2FA:
- Google Authenticator (Recommended)
- SMS Verification
- Email Verification
In 2026, Binance strongly encourages Google Authenticator because SMS can be intercepted and email can be compromised.
Step-by-Step Guide: How to Enable 2FA on Binance (2026)
Step 1: Log Into Your Binance Account
Open the official Binance website or app.
Avoid clicking random links — phishing sites look very real today.
Use only:
- App Store / Google Play
- Manually typed URL: binance.com
Step 2: Go to “Security”
Inside your profile:
- Tap your profile icon
- Select Security
- Choose Two-Factor Authentication
You will see a list of available security options.
Step 3: Choose Your 2FA Method
✔ Google Authenticator (Best Option)
Binance prefers this method because:
- It works offline
- It cannot be SIM-swapped
- It changes codes every 30 seconds
- Hackers cannot access it remotely
Tap Google Authenticator, then continue with setup.
Step 4: Download the Google Authenticator App
Available on:
- Android (Google Play)
- iOS (App Store)
After installation, return to Binance.
Step 5: Scan the QR Code
Binance will display a QR code and a long backup key.
VERY IMPORTANT:
- Write the backup key on paper
- Do NOT save it as a screenshot
- Do NOT upload it to cloud storage
- Do NOT share it with anyone
This key is the only way to recover your 2FA if you lose your phone.
Step 6: Enter the 6-Digit Code
Google Authenticator will generate a 6-digit code.
Enter it into Binance to complete setup.
You’re done — 2FA is now active.
My Personal Beginner Mistake (And How You Can Avoid It)
When I first enabled Google Authenticator years ago, I made the classic beginner mistake:
I did not write down the backup code.
When I changed phones, I realized I had no access to my old 2FA codes.
I couldn’t log into Binance for almost 48 hours while going through the recovery process.
Since then, my personal rule is:
- I always write down backup codes on paper
- I store them in a private place
- I never store authentication keys on my phone
This small step can save you a lot of stress.
Essential Security Tips When Using 2FA in 2026
1. Always prefer Google Authenticator over SMS
SIM swapping attacks still happen today.
✔ 2. Never share screenshots of your QR code
Hackers can activate your 2FA on their device.
✔ 3. Don’t keep your backup codes on your phone
If your phone is compromised, so is your 2FA.
✔ 4. Avoid “Binance Helper Bots”
Scam bots pretending to “fix 2FA issues” still exist on Telegram.
✔ 5. Enable 2FA for every action
Turn it on for:
- login
- withdrawals
- security changes
- API management
✔ 6. Use a separate email for Binance
Don’t use your main email for everything.
What to Do After Enabling 2FA?
Now that your account is secure, you can safely:
- transfer crypto from Trust Wallet
- send tokens from airdrops
- handle mining rewards
- withdraw crypto
- set withdrawal addresses
- add anti-phishing codes
▶ How to Create a Binance Account Safely in 2026
▶ How to Send Crypto From Trust Wallet to Binance (Tutorial)
Join Our Official Telegram Channel
Disclaimer : This article is for educational purposes only and does not provide financial or investment advice.